Advanced hardware lab 1-6 remove motherboard power supply and drives – Advanced Hardware Lab 1-6: Removing Motherboard, Power Supply, and Drives provides a comprehensive overview of the essential steps involved in safely removing and handling these critical computer components. This guide will equip readers with the knowledge and skills necessary to perform these tasks effectively, ensuring the longevity and optimal performance of their computer systems.
Overview of Advanced Hardware Lab 1-6

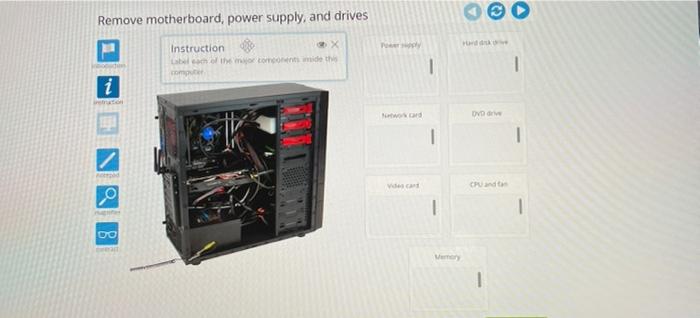
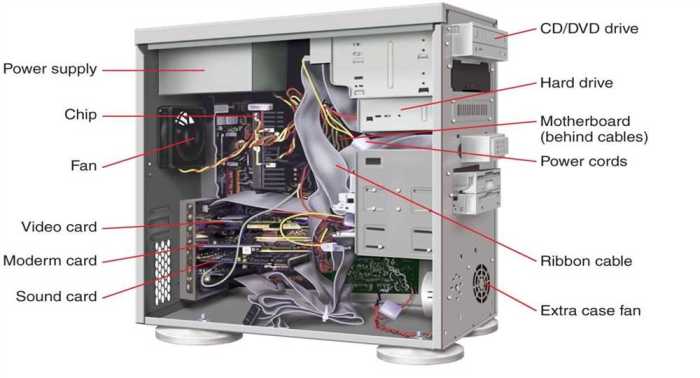
Advanced Hardware Lab 1-6 provides an in-depth exploration of the fundamental components and functionality of a computer system. Through hands-on exercises, students gain practical experience in removing and replacing critical hardware components, including the motherboard, power supply, and storage drives.
Understanding the physical structure and operation of a computer system is essential for troubleshooting, maintenance, and upgrades. This lab empowers students with the knowledge and skills to confidently handle and manipulate computer hardware, laying the foundation for advanced technical proficiency.
Safety Precautions

When working with computer hardware, adhering to proper safety protocols is paramount. Electrostatic discharge (ESD) can damage sensitive electronic components, so it is crucial to follow grounding procedures.
- Wear an anti-static wrist strap or touch a grounded metal object before handling components.
- Use ESD-safe mats or surfaces when working on hardware.
- Avoid touching the pins or contacts on components.
- Power down the computer and unplug it from the power source before opening the case.
Removing the Motherboard
The motherboard is the central component of a computer system, connecting all other components. Removing it requires careful attention to detail.
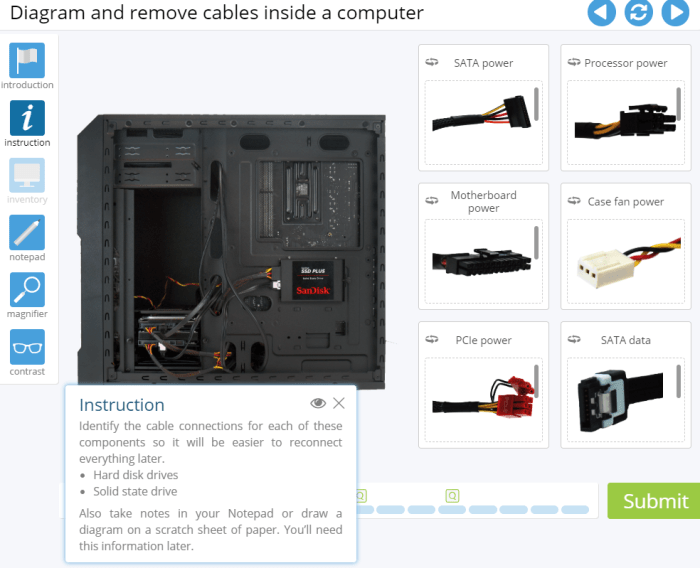
- Disconnect all cables connected to the motherboard, including power, data, and expansion cards.
- Remove the screws securing the motherboard to the case.
- Carefully lift the motherboard out of the case, holding it by the edges.
- Place the motherboard on an anti-static surface.
Removing the Power Supply
The power supply provides electrical power to all components in the computer system.
- Disconnect the power supply cables from the motherboard and other components.
- Remove the screws securing the power supply to the case.
- Slide the power supply out of the case.
- Store the power supply in an anti-static bag.
Removing Storage Drives, Advanced hardware lab 1-6 remove motherboard power supply and drives
Storage drives store data and programs on the computer. There are two main types of storage drives: hard disk drives (HDDs) and solid-state drives (SSDs).
- HDDsuse spinning disks to store data. To remove an HDD, disconnect the data and power cables and then unscrew it from the case.
- SSDsuse flash memory to store data. To remove an SSD, disconnect the data cable and then unscrew it from the case.
Troubleshooting and Maintenance
During the removal process, common issues may arise. These include:
- Loose connections:Ensure all cables are securely connected.
- Damaged components:Inspect components for any physical damage or corrosion.
- Static discharge:If ESD occurs, discharge yourself by touching a grounded metal object.
Regular maintenance is essential for optimal performance. This includes cleaning components with compressed air and checking for loose connections.
FAQ Corner: Advanced Hardware Lab 1-6 Remove Motherboard Power Supply And Drives
What are the potential risks associated with removing computer hardware components?
Electrostatic discharge (ESD) is a major concern when handling computer hardware. ESD can damage sensitive electronic components, so it is crucial to take proper precautions such as grounding yourself and wearing an anti-static wrist strap.
What tools are necessary for removing motherboard, power supply, and storage drives?
A basic set of tools is typically sufficient, including a screwdriver, pliers, and a grounding strap. However, specific tools may be required depending on the type of computer system.
How can I troubleshoot common issues that may arise during the removal process?
If a component is not properly seated or connected, it may cause the computer to malfunction. Double-checking connections and ensuring that all screws are securely tightened can often resolve these issues.

